
Choose Surfaces to Display
To access this screen:
-
Visualize task bar >> Surfaces >> Other Surfaces.
Choose the 3D surfaces to display and animate.
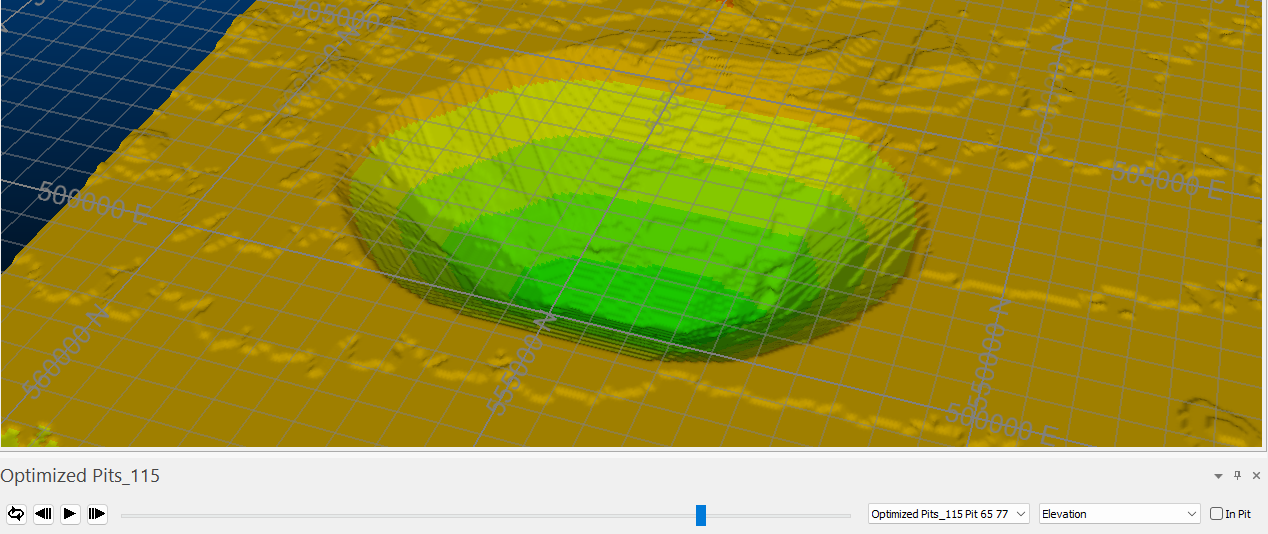
Animation playback showing generated surfaces and Surface Animation control bar
Activity steps:
-
Display the Choose Surfaces to Display screen.
-
Select the File containing the surface(s) to be displayed. All surface objects associated with the current project are listed.
-
For your animation, you can either display surfaces within a range of available data, or you can generate surfaces from the existing OES:
-
Select Use explicit surface definitions to display surface data that already exists in the selected File (data will not be generated). There are two ways to do this:
-
Show all surfaces – Display all surface data based on its associated code (ID). All surfaces of the file display in the animation.
-
Show selected surfaces – Display surfaces only within a range, and optionally skipping one or more surfaces each time playback continues. Start at code defines the initial surface and End at code determines the final surface to show during playback. Use interval is set to 1 by default, meaning all surfaces within the range display. Setting this to a higher number omits surfaces in sequence.
Note: Start at code and End at code are inclusive.
-
-
Select Make surfaces from extraction sequence to automatically combine consecutive OES blocks into pit surfaces as follows:
-
Take the first
Nblocks, whereNis the First pit includes value, and make it the first pit. -
Then, take next
Mblocks, whereMis the Other pits have value, and make it the second pit. -
Continue this until all blocks are used.
Note: Generally, this option is slower to complete than using existing surface data but has the advantage of being based on the latest available sequence data.
-
-
-
Surface data displays in its own 3D window. Choose the name of this window's tab using Show in tab window called.
-
Click OK to display the surface data in the 3D window and also display the Surface Animation control bar.
-
Save your project.
Related topics and activities: